
Anyken AI
Best Free AI Image Enhancer
This best free ai image enhancer workbench starts from an authorized photo. Upload your source, describe clearer lighting, more readable texture, or a cleaner background, check account credits and the displayed credit cost, then generate a still for comparison. Here, free means using available account credits. Enhancement is prompt-led image-to-image editing, so judge the new still against your source. This is not a dedicated upscaler or a measured restoration service.

Choose Wan 2.7 Image or Image Pro
Both choices use your reference image and an edit instruction. Review the displayed cost before choosing Pro.
01
Start with Wan 2.7 Image
Wan 2.7 Image is the default on this page. Preserve the subject and geometry while requesting a specific visible improvement. Save that instruction with your source so you can tell whether a later change came from the model or from your wording.
02
Compare Pro on the same source
Wan 2.7 Image Pro is the other model available on this route. Keep the source and instruction unchanged for a useful comparison. Pro does not guarantee a better result for every photo; compare edges, texture, and the credit cost yourself.
03
Match the frame to your reference
Choose an aspect ratio that fits the source. A new crop can require the model to invent content near the edges. Select output settings offered by the current model, then check the estimated credits again.
Describe the change you want to see
Preserve the subject and geometry while requesting a specific visible improvement.

01
Separate preservation from the edit
Write a keep sentence followed by a change sentence. Keep the subject, pose, and crop; change clearer lighting, more readable texture, or a cleaner background. Avoid asking the model to sharpen, relight, restyle, and rebuild everything at once.
02
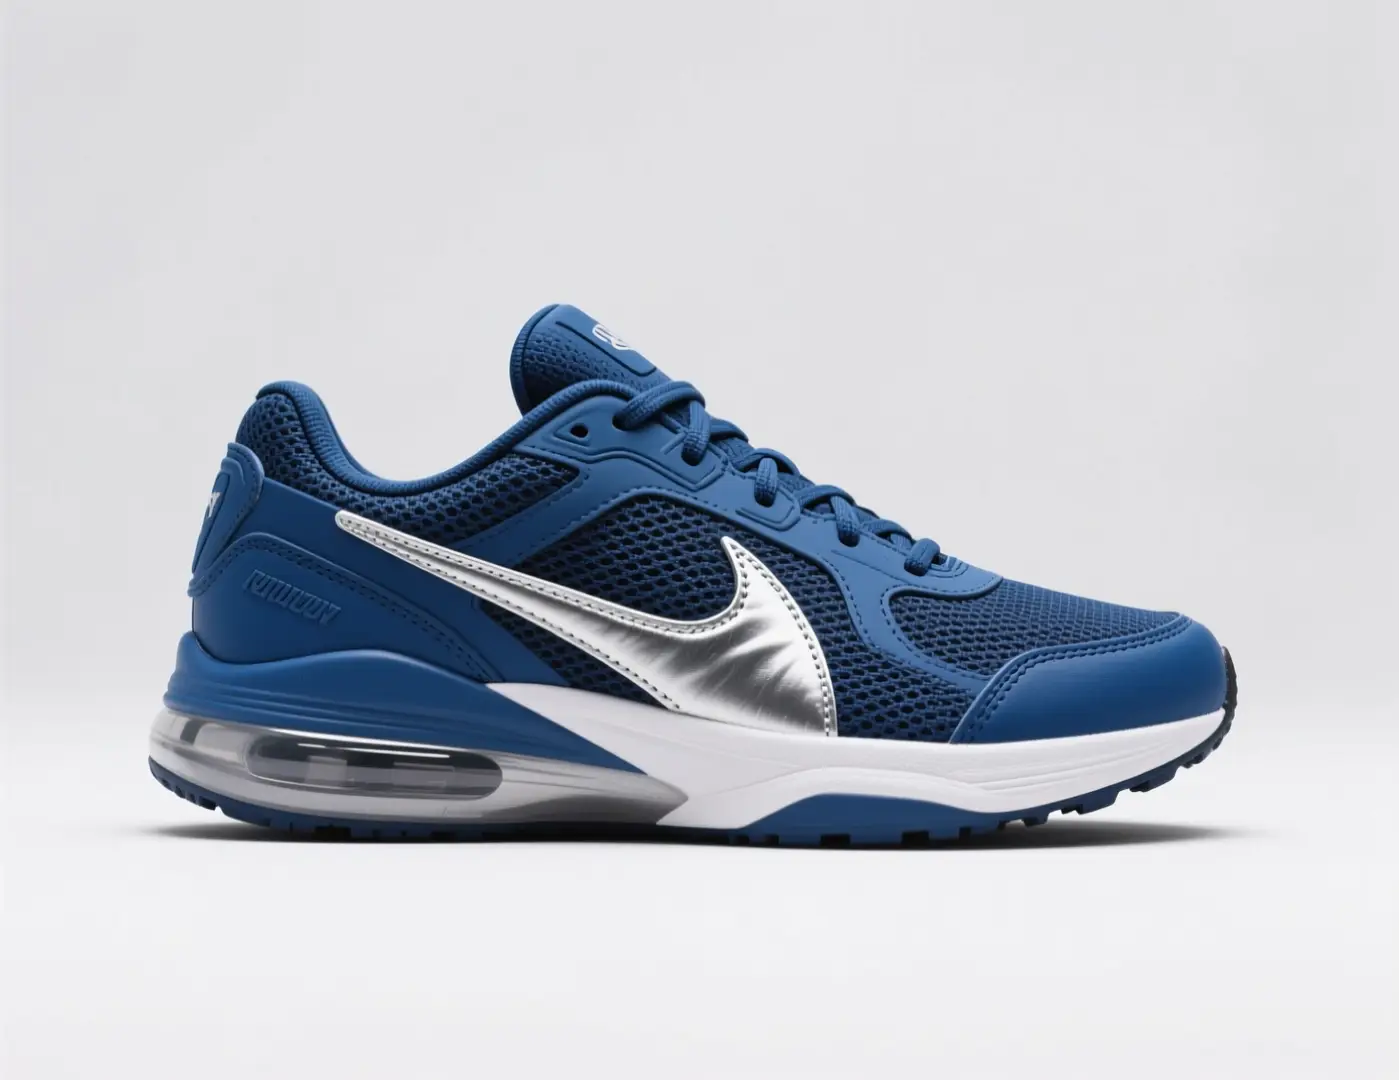
Use a clear source
Upload the best original file you have. Heavy compression or an obstructed subject gives the model less reliable information. Generated detail can look plausible without matching the original, so compare recognizable features before keeping it.
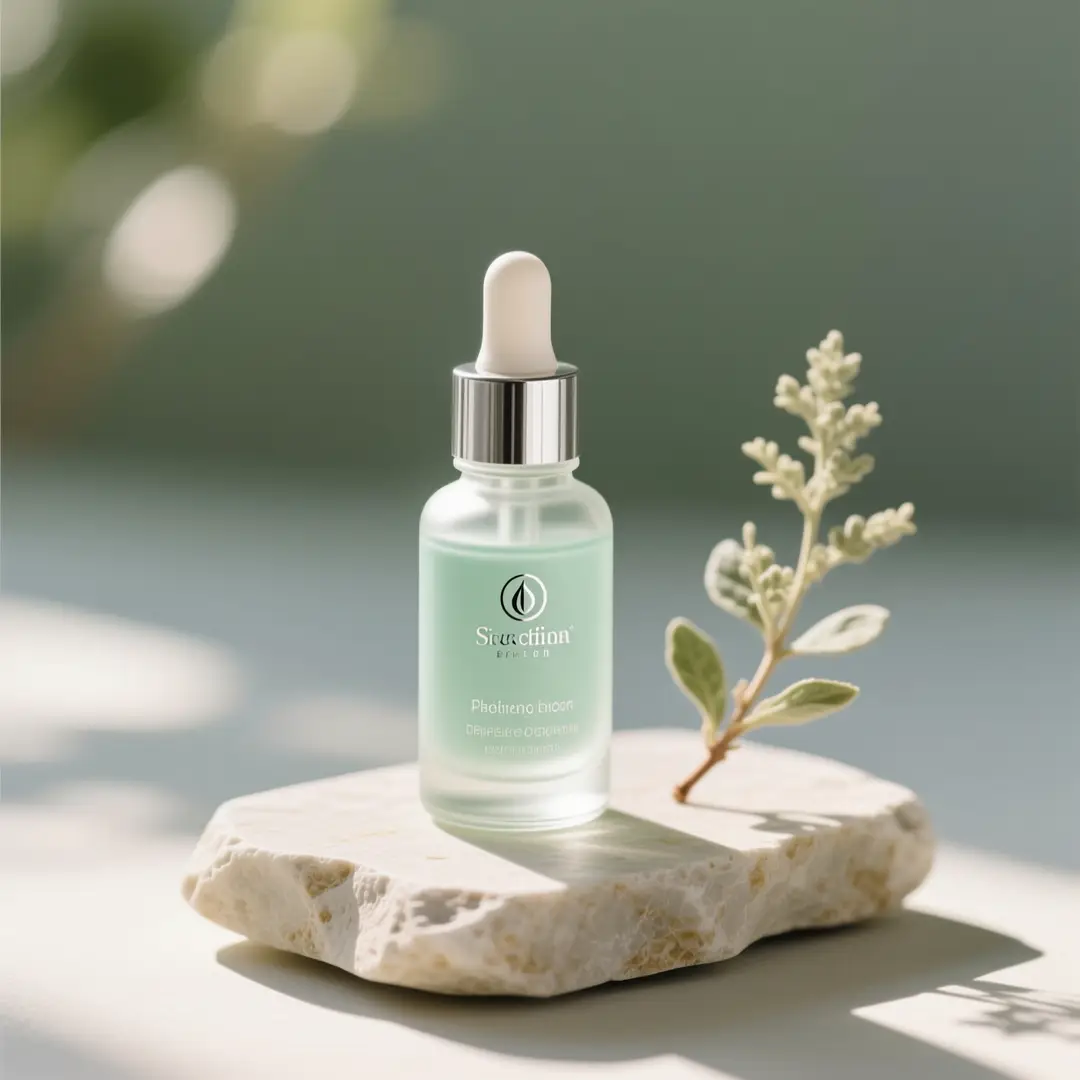
03
Name a visible acceptance check
Decide what would count as a useful result before generating: a cleaner background edge, softer shadows, or a retained facial feature. An instruction such as make it better is harder to assess than one specific change.
Choose a job that fits image-to-image
One source and one visible goal make a result easier to evaluate.
Inspect references without mistaking them for proof
The media below illustrate editing ideas. They are not verified input/output pairs from this route.
Illustrative references, not verified Anyken before-and-after outputs.
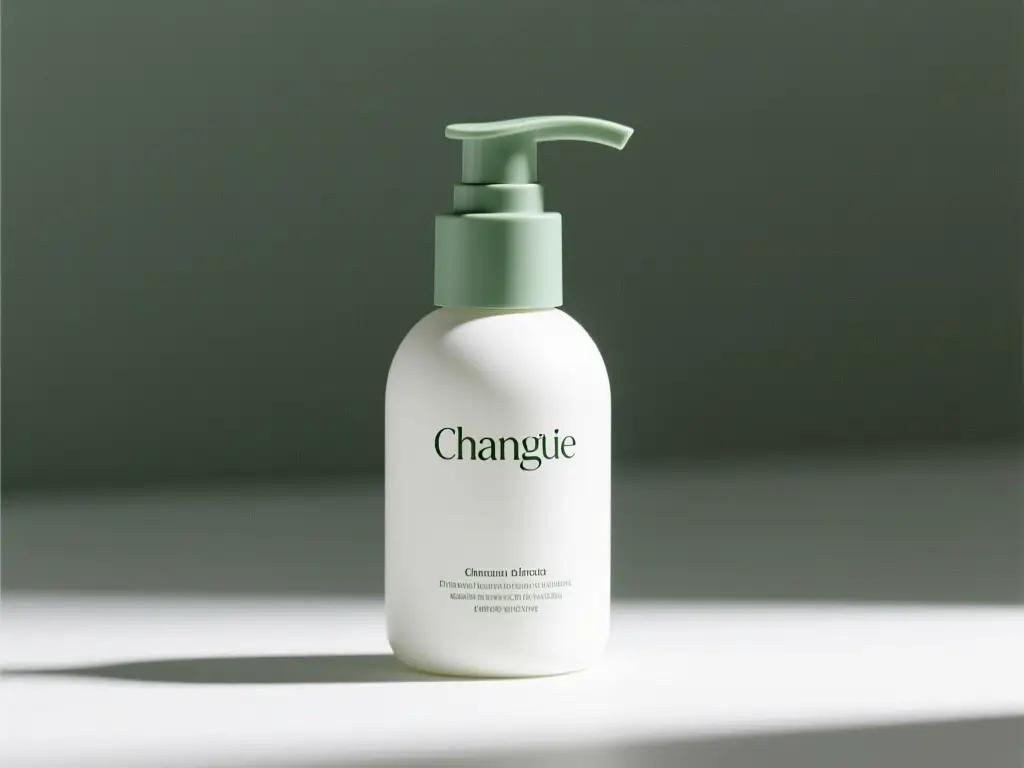
Look for the requested change
A polished-looking frame can still fail the brief. Compare the source and output at the same viewing size, then zoom into the region named in your instruction.
Illustrative references only.
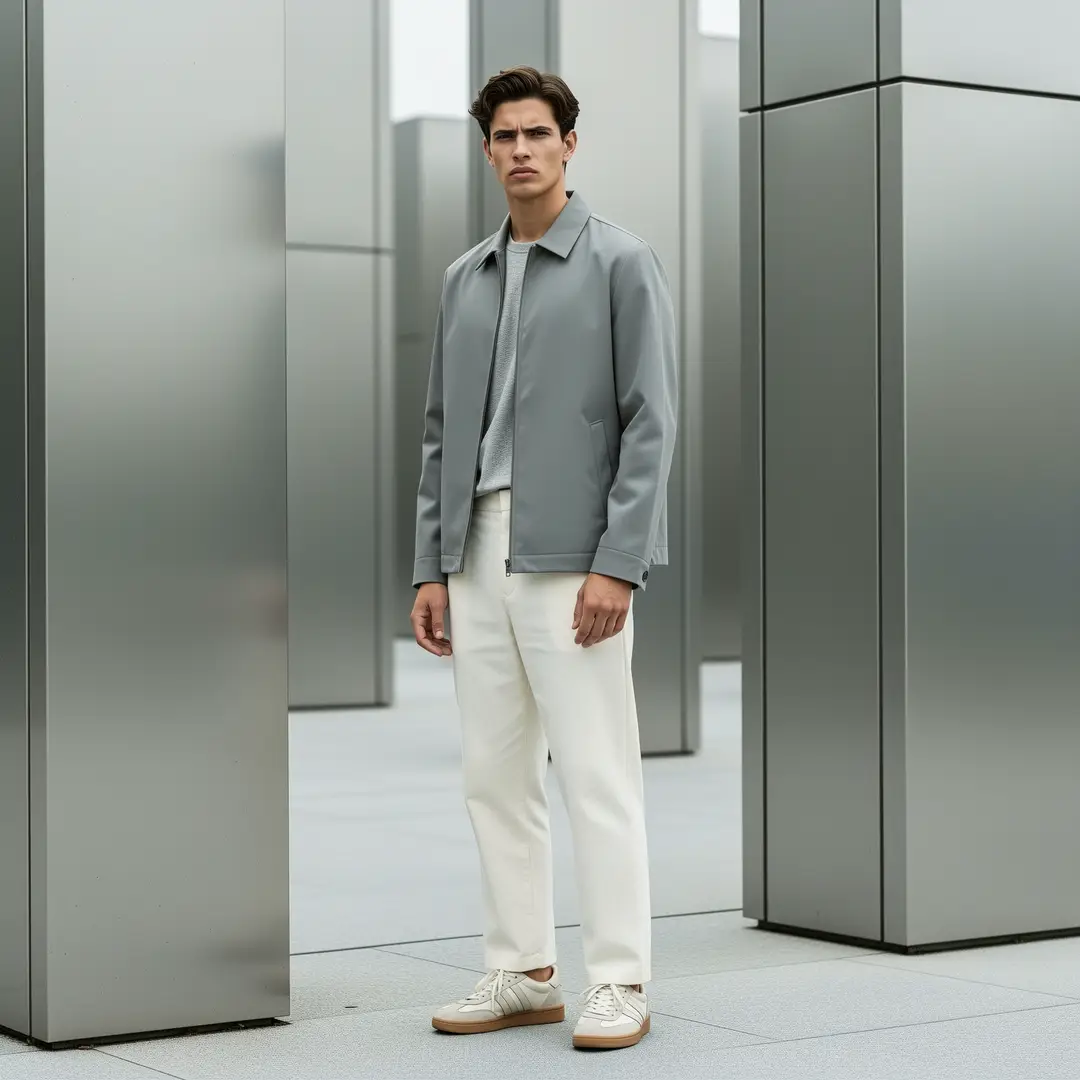
Check the preserved details
Preserve the subject and geometry while requesting a specific visible improvement. Inspect the outline and recognizable marks before downloading. Keep the original file so you can reject an attractive result that changed the wrong detail.
Not a measured fidelity demonstration.
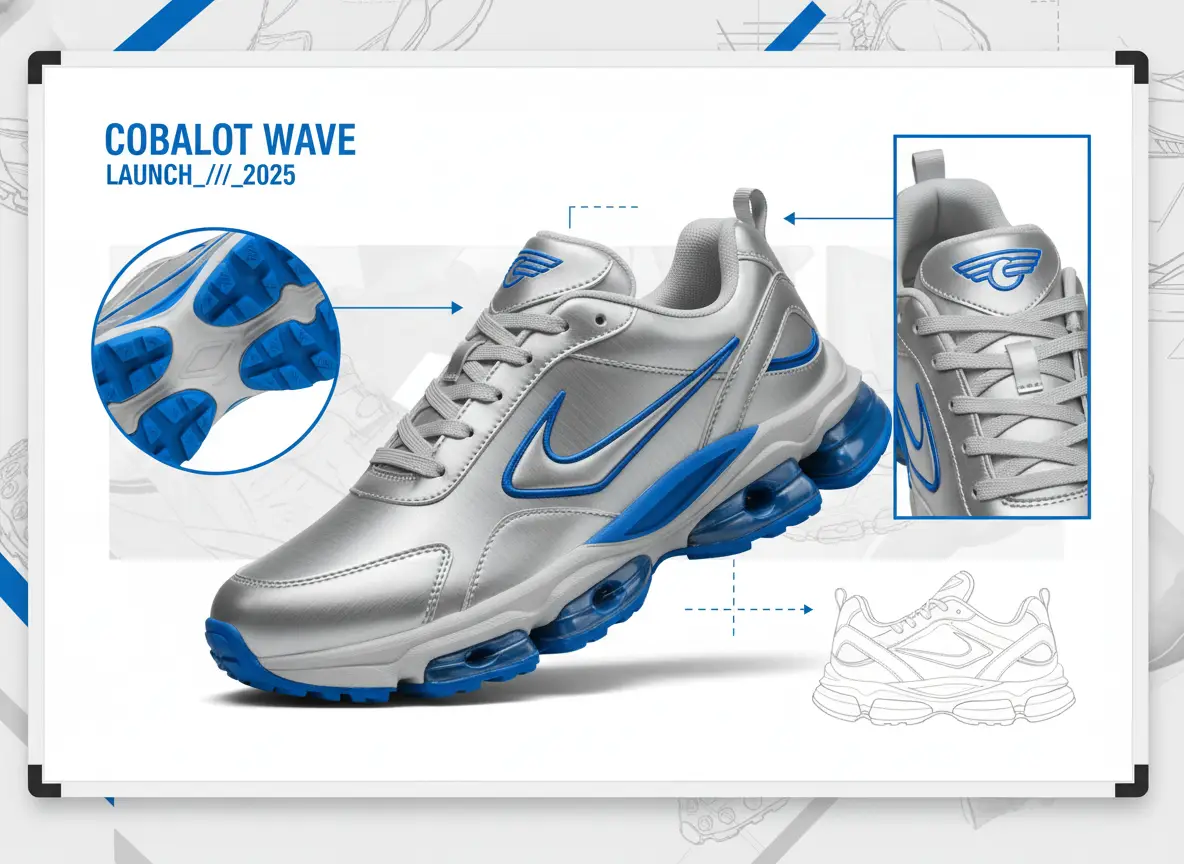
Retain a useful comparison
Save the chosen model, instruction, and settings with your result. Change one of those for the next attempt. Comparing different crops and several rewritten instructions makes it hard to know what improved.
Example composition for review.
Make each comparison useful
A short review checklist helps you decide whether the edit solved your original problem.
01
Keep the original file
Compare against the original, not an earlier generated copy. Repeated edits can accumulate changes to geometry and texture.
02
Review at a matching size
Compare both images at the same scale. A smaller preview can conceal altered edges or invented texture.
03
Spend on a specific revision
If one region failed, name that region in the next instruction. Read the credit cost again before another attempt.
Workflow notes
Practical review habits
These are editing suggestions, not customer reviews or promised results.
Preserve first
Input note
“Preserve the subject and geometry while requesting a specific visible improvement.”
One change
Comparison note
“Keep the source fixed and vary one instruction at a time.”
Cost check
Account note
“Confirm sign-in and sufficient credits before generating.”
Questions before your first edit
Check the input, credit requirement, and expected result before running the model.
Input and output
This page takes a reference and returns a still.
What does the best free ai image enhancer do?
+−
It uses Wan 2.7 Image or Pro to interpret your uploaded photo and edit instruction. The result is a generated still, not a guaranteed recovery of original detail.
Which source should I upload?
+−
Choose a clear photo you are authorized to edit. Keep an original copy for comparison. A larger file cannot by itself guarantee a faithful enhancement.
Account and credits
Review the actual account balance before generating.
Is every edit free?
+−
Generation consumes credits. You can use available account credits, including any currently offered trial allowance. Check eligibility and the displayed cost; extra versions require their own credits.
Do I need an account to generate?
+−
Yes. Sign in and confirm sufficient credits before submitting a generation. Opening the page does not create a guest generation allowance.
Limits and next steps
Inspect the result before using it.
Is this a dedicated upscaler?
+−
No. This is prompt-led image-to-image editing. Output settings follow the selected image model; this page does not promise lossless enlargement or a fixed restoration score.
Can I make a video here?
+−
This page produces a still image. Use the related image-to-video workbench for a separate motion job, with its own upload and credit check.
Upload, describe, review
Follow these steps with a single source file.
Step 1: Upload your reference
Add your authorized photo in the workbench above. Confirm that the source already contains the subject and crop you want.
Step 2: Write the preservation and change notes
Preserve the subject and geometry while requesting a specific visible improvement. Name the lighting, texture, or background change separately. Choose Wan 2.7 Image or Pro and inspect the credit cost.
Step 3: Generate and compare
Sign in, confirm the credits, and generate. Compare the resulting still with the original before saving it. If the change failed, revise only the instruction that caused the mismatch.
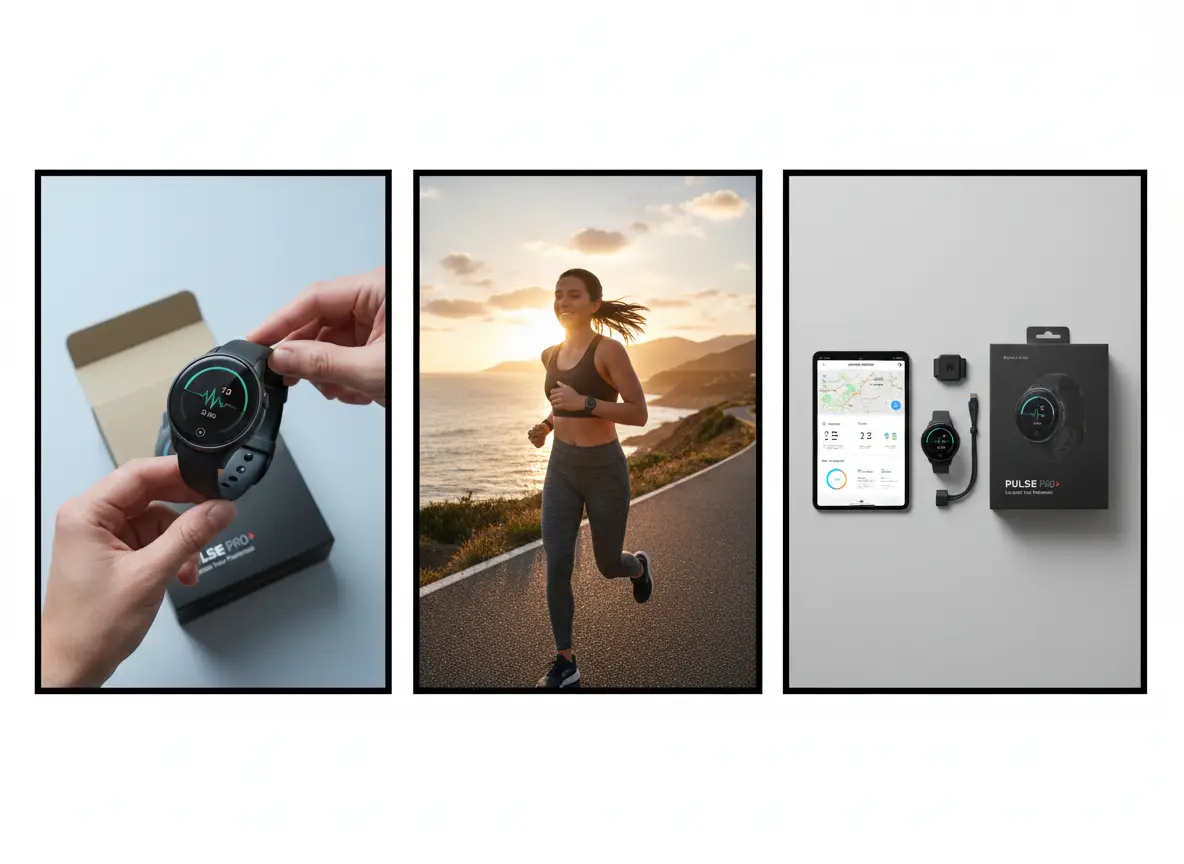
Use account credits deliberately
Free access to the page and free generation are different. The workbench displays the credits for your selected model and settings.
Check the balance first
Use available account credits for a trial when eligible. If the balance is insufficient, review the offered purchase options before deciding to continue.
Budget for another attempt
Every new generation has its own cost. Keep the best source and a clear instruction to make each comparison useful. A failed creative direction is not a promise of a free rerun.

Anyken AI
Upload a reference and check credits
Free access to the page and free generation are different. The workbench displays the credits for your selected model and settings.